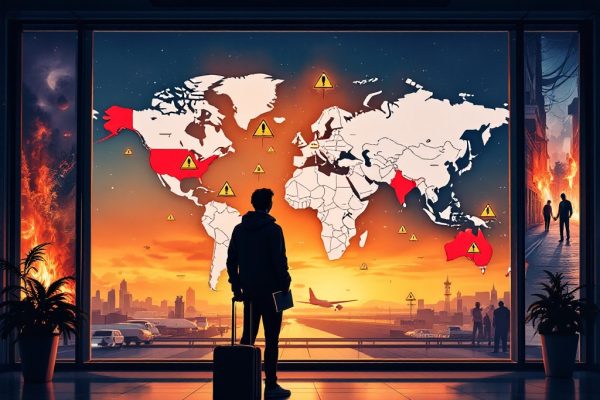
How to Prepare for the Visit to the Embassy
Ready for your U.S. visa interview? Learn how to ace it! This guide provides crucial steps, from completing the free online DS-160 form to understanding the interview process. Discover what documents are essential (and which aren’t!), how to demonstrate your intent to return home, and tips for answering common questions. Prepare thoroughly and increase your chances of a successful visa interview. Start now and navigate the process with confidence!
Important information
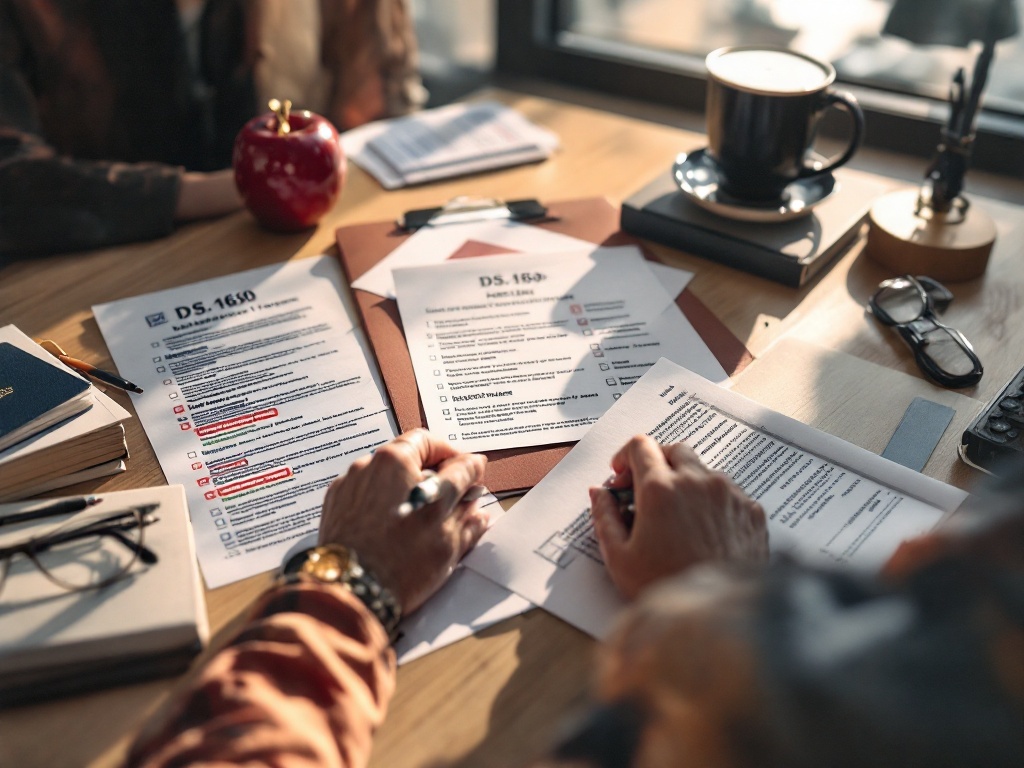
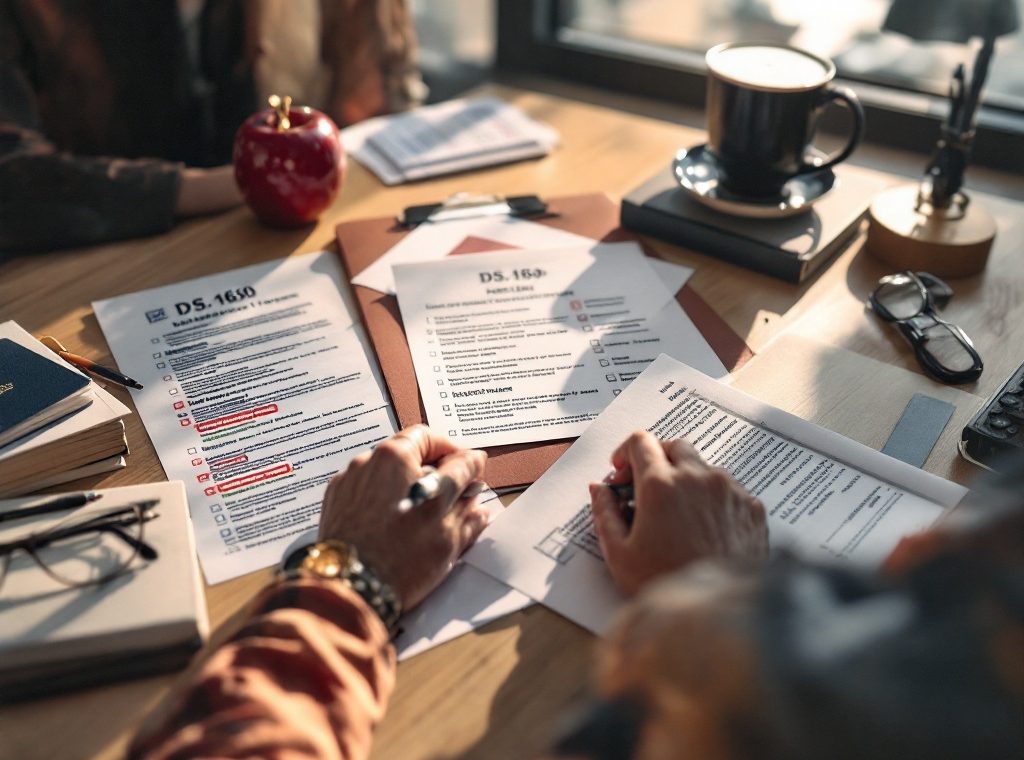
- Complete the free online DS-160 form accurately and entirely. Use “none” for any questions that don’t apply to you. Incomplete forms will delay your interview.
- Schedule your interview at the U.S. Embassy or Consulate where you applied. Prepare to show strong ties to your home country, proving you intend to return after your visit. The consular officer will verify your eligibility and that your visa type matches your travel purpose.
- Gather required documents: valid passport, photos, originals or certified copies of civil documents, DS-160 confirmation, and any visa-specific forms (like I-20, DS-2019, or I-797). English translations are needed for non-English documents. Proof of funds is NOT required.
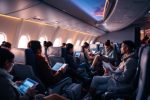
- The visa interview is short (90 seconds to 3 minutes), conducted in English, and involves fingerprinting. Dress professionally, arrive early, and be ready to explain your trip purpose and ties to your home country. The officer usually decides immediately.
- The $160 visa application fee is payable at your appointment using cash or a bank/cashier’s check (no credit cards). Electronic devices are generally not allowed in the embassy.
Choosing the Appropriate Embassy or Consulate
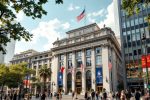
Your visa interview will be held at the U.S. Embassy or Consulate where you submitted your application. It’s generally recommended to schedule this interview in your home country.
Understanding the Visa Application Process
Complete the free online DS-160 form. Answer every question thoroughly, using “none” instead of leaving blanks.
Prepare for your interview. Demonstrating your intention to return home after your trip is essential. A consular officer will assess your eligibility, ensuring your chosen visa category aligns with your travel plans. You’ll need to convincingly demonstrate that you satisfy all US legal requirements.
Provide digital fingerprints at your interview.
Incomplete forms will be rejected, forcing you to reschedule your interview. Avoid paying for unnecessary assistance with this free application.
Paying the Visa Application Fee
The non-refundable visa application fee is $160, payable at your embassy appointment. You can use cash or a bank/cashier’s check. Credit cards are not accepted. Payment can be made in U.S. dollars or the equivalent local currency, depending on your visa category.
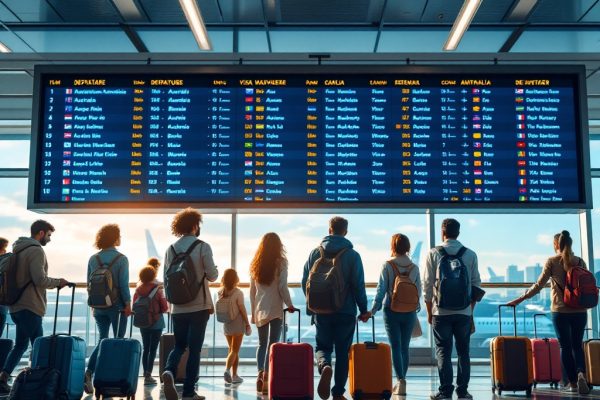
Scheduling Your Visa Interview Appointment
To schedule your visa interview, contact the nearest U.S. Embassy or Consulate. If you need to reschedule, reach out to them immediately for assistance. Each applicant must have a separate appointment.
Gathering Required Documents for the Visa Interview
Gather essential documents, including originals or certified copies of civil documents like birth and marriage certificates.
Ensure your passport is current and you have photos that meet visa requirements.
Bring your DS-160 confirmation page and your NVC appointment letter.
Include additional documents based on your visa type. Students (F, M, J visas) need Form I-20 or DS-2019, while H, L, and R visa applicants require Form I-797.
An invitation letter and proof of your intent to return home might also be needed.
Translate any non-English documents.
Provide two identical color photos.
Applicants 16 and older, or those with expired police certificates, must bring a current one.
Financial documents, like the Affidavit of Support, are not required.
Essential Documents to Bring
Bring your valid passport and photos that meet our requirements to your visa interview.
Prepare original or certified copies of all civil documents.
Include certified English translations for any documents not originally in English.
Financial documents like the Affidavit of Support are not required.
Nonimmigrant visa applicants: bring your DS-160 confirmation page and a 2×2 inch photo.
Specific visa categories (F, M, and J) need an I-20 or DS-2019 form.
An invitation letter might be necessary depending on your situation.
It’s helpful to have evidence of your intent to depart the U.S. after your visit.
Ensure any supplementary documents are clear, concise, and relevant to your application.
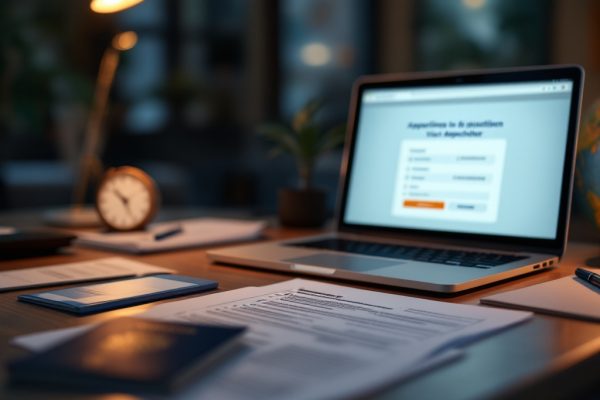
Understanding the Importance of Form DS-160
The online DS-160 form is required for nonimmigrant visa applications. It gathers essential information, and every question must be answered accurately. Use “none” for irrelevant questions. Incomplete or incorrect forms will be returned, requiring a new interview appointment. The DS-160 is free to complete independently, without paid assistance.
Preparing Supporting Documents
Gather your financial documentation. This includes bank statements and tax returns.
Obtain an invitation letter if applicable.
Collect supporting materials that strengthen your application, such as proof of employment, property ownership, or sponsorship letters.
Include the necessary forms based on your visa category. Students should bring their I-20 or DS-2019 form, while applicants for H, L, or R visas need the I-797 Approval Notice.
Research and gather any unique documents required for your specific visa type.
Proof of Funds and Financial Stability
Demonstrate your ability to finance your U.S. trip by providing financial documentation such as:
- bank statements,
- employment verification,
- a sponsorship letter.
These materials confirm your financial stability and assure officials that you can cover your expenses during your stay.
Preparing for the Visa Interview
Prepare for your visa interview. As the primary applicant, your attendance is mandatory.
Family members aged 14 and older must also accompany you.
Review your application and supporting documents beforehand.
Practice answering typical questions about your trip, finances, and home country ties.
Dress professionally and arrive early to accommodate potential delays.
Remain calm and respectful throughout the process.
On the interview day, arrive punctually.
Present your ID at the entrance.
Bring only essential documents.
Leave electronics at home, as they are prohibited inside the embassy.
Preparing for Interview Questions
Thoroughly review your visa application and supporting documents.
Practice answers to common interview questions about your trip purpose, financial stability, and ties to your home country.
Professional attire and punctuality are essential.
The interview will be conducted in English.
Practice Questions for the Interview
Preparing for your B-1/B-2 visa interview is crucial for a successful outcome. Practice answering common questions about your trip, including its purpose, the intended length of stay, and your accommodation plans. Clearly explain your ties to your home country, such as your job and family connections. As the interview is conducted in English, thoroughly review your application and supporting documents. Practice discussing your financial situation to demonstrate your ability to cover your expenses during your visit. Dress professionally and arrive early to allow for any unforeseen delays. Thorough preparation will significantly increase your confidence and improve your chances of a successful interview.
Practice answering typical questions about your trip purpose, intended length of stay, and accommodations.
Be prepared to explain your ties to your home country, including job and family connections.
Review your application and supporting documents, as the interview will be in English.
Practice discussing your financial situation to show you can support yourself during your visit.
Dress professionally and arrive early to account for potential delays.
Understanding the Role of the Consular Officer
Consular officers determine visa eligibility based on U.S. law. Their primary concern is ensuring applicants return home after their trip. To assess this, they inquire about the applicant’s connections to their home country, such as family, employment, and financial assets. The officer’s decision is typically immediate, following the interview.
Attending the Visa Interview
Preparing for your visa interview at the U.S. Embassy or Consulate? Follow these steps to ensure a smooth experience:
Dress professionally. Your appearance matters, so choose attire suitable for a formal setting.
Prepare your explanation. Be ready to concisely explain why you will return home after your U.S. visit. This is crucial for a successful interview.
Gather your documents. Refer to your interview instructions for a comprehensive list of required documents and ensure you have everything.
Leave electronics behind. Electronic devices are typically prohibited, so it’s best to leave them at home.
Be prepared for a short interview. Interviews usually last between 90 seconds and three minutes. The consular officer will ask about your travel plans, ties to your home country, and immigration history.
Expect fingerprinting. Be ready to have your fingerprints digitally scanned as part of the process.
The interview will likely be in English. While the interview is generally conducted in English, the visa decision is usually communicated immediately.
What to Expect During the Interview
The visa interview is a critical step in determining your eligibility for a U.S. visa. A consular officer will assess if your travel purpose aligns with U.S. law and if you meet the required criteria. During this short interview, typically lasting between 90 seconds and three minutes, the officer will digitally scan your fingerprints. They will also ask about your trip, your life in your home country, and your immigration history. Your supporting documents will be reviewed as well. In most instances, the officer will make a decision immediately.
How to Dress Professionally
Dressing professionally for your embassy or consulate visit creates a positive impression.
Articulating Your Intent to Return Home
I came to the U.S. solely to pursue my educational aspirations, specifically to achieve a [Specific educational goals, e.g., Master’s degree in Computer Science]. This will enable me to pursue a career in [Desired career field] upon returning home. My family eagerly awaits my return to our home country after graduation. I have several promising job offers waiting for me, and I also own property there. My travel arrangements will be finalized closer to my graduation date. My dependents, [Names and relationship], will return with me, subject to the same visa restrictions as accompanying family members. My financial resources are sufficient to cover all expenses during my stay in the U.S. These resources include [Sources of funding, e.g., savings, family support, scholarships].
Tips for a Successful Embassy Visit
Visit the embassy’s website to check typical wait times and schedule your appointment accordingly to avoid delays.
Plan to arrive early to accommodate any unforeseen issues.
Confirm your appointment and review any specific instructions provided by the embassy.
Familiarize yourself with their rescheduling policy in case of unexpected circumstances.
Managing Wait Times and Appointments
Arrive early for your appointment to accommodate potential delays due to traffic or other unforeseen circumstances. Having your documents organized will help expedite the process.
Consequences of Failing to Bring Required Items
To avoid visa delays or denials, ensure your application is complete. The consular officer needs all required documents for processing. Gathering everything beforehand prevents rescheduling and unnecessary hassle. A complete application ensures efficient processing by the consular officer, preventing potential delays or denials. Organize all necessary documents in advance to avoid rescheduling and unnecessary complications.